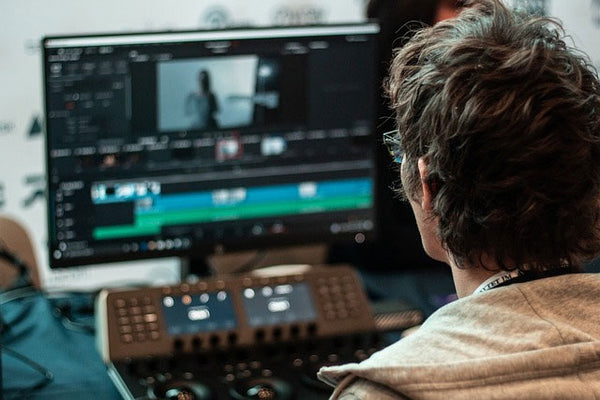
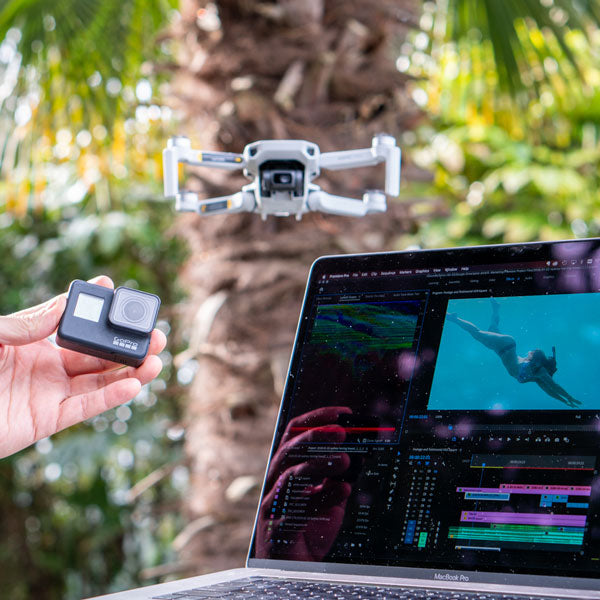
Most people make the mistake of thinking that making good travel videos is all about complicated transitions, fancy colors, and expensive cameras. All of that is only one tiny part and it isn’t even necessary. By far the most important thing is and always will be the story.
That's great news for you because with a little preparation you can ensure you have a great story to tell.
This guide goes over 9 basic ways to help you create prepare, create, and film better videos you'll be stoked on.
1. Be selective with what you film
Before your trip, think about the kind of travel video you want to make. It might seem like a good idea to try and capture every moment, but it will only make editing a video harder. One option is to use a Video Editing Service that will professionally sort, edit and put together everything for you. Otherwise, if you plan on editing yourself focus on capturing shorter clips and choose your moments wisely. One way to ensure short clips with exciting content is to use the Spivo 360 to capture two perspectives in every shot.
2. Repeat one kind of shot in many different locations
A cool video strategy is to repeat a specific kind of shot in many new and interesting locations. Film yourself walking through doorways, jumping with your arms up or film a selfie-and click the Spivo 360 button to reveal the view after every hike. Let your creativity take over!
For example, Ana and Daniel took selfies in 10 countries with the Spivo 360 and used the swiveling feature to reveal a new spot at every click. They made this video back in 2016 and it's still one of our favorites!
3. Get creative angles

Next, you'll want to get a variety of shots. Try getting unusual angles you usually wouldn't film from. You can use a tripod like the Spivo Flexible Tripod to capture some cool outside perspectives shots or to get yourself into a group photo.
4. Test the audio if you plan on using it
There's nothing worse than doing a bunch of talking to the camera and realizing afterward the audio is unusable. This is especially a problem when shooting outside when it's windy out. For that reason, it's a good idea to do a test shot and listen to the audio before filming too much content with important audio.
5. Utilize the slow-mo video feature on your GoPro or phone

Slow-mo videos are all over social media these days. For good reason too: they make shots look more dramatic and cinematic. We often slow footage down when editing videos for customers using our Video Editing Service. On your phone, you'll need to swipe over to slow-mo mode to get these types of shots, whereas on a GoPro you'll want to shoot at least above 60 frames per second.
6. Think about video transitions while you're filming
A good video transition matches similar clips together so that the video flows better. Here are some examples:
- Match camera motion. End a shot with fast camera motion and start the next shot with fast camera motion in a similar direction.
- Match scene colors. End a shot on a specific color and start the next shot on a similar color. For example, ending a clip on the sky, followed by a shot starting on the ocean.
- Match scene composition. End a shot with a strong shape in a particular position in the frame, and start the next shot with a similar shape and position. For example, end on tall trees, and transition to tall buildings.
In the video above, we explored Joffrey Lakes and focused on filming clips that would work well for scene transitions. How many matched scene transition did you see in the video above? Let us know in the comments below!
7. Use timelapses to your advantage

Timelapses are an awesome way to capture video of something that occurs really slowly. We find ourselves filming time-lapses more often to capture sunrises/sunsets, to film clouds moving fast, or even to walk around a new spot while filming with the Spivo 360 swivel selfie stick. The advantage of time-lapses is that it speeds up the video to a pace which is more watchable for the average viewer. Sadly, a 10-minute long video of the sun setting is pretty boring to most people however, a 5-10 second timelapse of it equally shows just how awesome it was.
8. Think about your opening and closing shots
A little forethought about how you want your video to look will go a long way. Before you go on your adventure, think about a few introductory shots for your video. Some examples might be getting in the car, walking around the airport, or taking off in the plane. As for closing video shots, a sunset video or a "waving at the camera" shot are ways you can end a video with sort of natural ending.
9. Organizing your content for editing

Before you start making a video, start by storing your content on a hard drive, or your computer. We suggest creating folders with this format: “YYYY-MM-Location” (Y being the year, and M being the month) so that you can sort your trips in chronological order. For example "2019-02-Hawaii".
No time or ability to edit? Our team of professionals can edit your video for you! Check out our Video Editing Service to easily create your next video.
Should you rename your clips? After many years, we’ve tried just about everything under the sun for organizing content. It might seem like a good idea to rename files, but this will only add time when making a video. Instead, we only rename the best clips while keeping the original file name, ex: “ GOPR2049-best-waterfall.mp4”. Keeping the file name at the beginning is a good way to keep the chronological order of your clips and adding a descriptor to the end of the file name makes it easier to find them while still allowing you search by file name.
And there you have it, nine quick tips we've learned over the years of making travel videos. If we missed anything, hit us up in the comments! Happy travels and happy filming!


Leave a comment